Good menu photos do not need a big setup. Your phone, daylight, and a clean counter are enough to start.
This guide works whether you use QuickStok or not. Use it when you need a new menu photo, a Google Business Profile update, or a clean reference photo for AI pictures.
Why phone photos are enough to start
Your guests just need to see what the drink or food looks like, and a clear phone photo can do that well.
Light: use daylight whenever you can
Light matters more than the phone you use.
The easiest setup is near a window during the day. Put the drink or food close to the window, but not in harsh direct sun. Soft window light makes coffee, milk, ice, pastry texture, and color look more natural.
Before you shoot:
- Turn off overhead lights.
- Avoid flash.
- Move away from mixed light, like a window on one side and warm ceiling lights above.
- Keep the item close to the window, not across the room from it.
Overhead lights can make drinks look yellow or green. They can also create shiny spots on lids, cups, glaze, and ice. Flash is usually worse. It flattens the photo and makes cups and plates look harsh.
If it is a dark day, move closer to the window. Put the drink on a light surface. A white table, pale wood, or clean paper menu can bounce light back into the photo. If the photo still looks muddy, wait for brighter daylight instead of forcing it.
If your shop is only bright in one corner, use that corner as your photo spot. You do not need a full setup. You need a place with clean light that you can use again.
Choose the right angle for each item
Different menu items look best from different angles. The goal is not to be fancy. The goal is to show the shape, texture, and size clearly.
Tall iced drinks and layered drinks
Shoot straight on at cup height.
This works well for:
- Iced lattes
- Cold brew with foam
- Matcha with milk
- Lemonades
- Seasonal drinks with layers
- Drinks with whipped cream or toppings
Hold the phone so the camera is level with the middle of the cup. Do not shoot down at the drink if the layers are the main feature. A straight-on angle helps people see the color, height, and cup shape.
Keep the logo facing the camera if you have branded cups. If the cup has a clear seam or label, turn it away unless it is part of the look.
Latte art and flat plates
Shoot from above.
This works well for:
- Cappuccinos with latte art
- Flat whites
- Toast
- Cookies
- Breakfast plates
- Small bakery items on a plate
Stand over the item and keep the phone flat. Watch the edges of the frame. If the cup handle or plate is cut off in an odd way, adjust before you shoot.
For latte art, shoot soon after pouring. The design softens as the drink sits. Clean the saucer and wipe the cup before taking the photo.
Pastries and baked goods
Use an angled view.
Pastries often need depth. A croissant, muffin, scone, or slice of cake can look flat from above. Put the phone slightly above the item and angle it down enough to show the top and the side.
This helps show:
- Flaky layers
- Frosting
- Filling
- Crumb texture
- Size and shape
If the pastry has a cut side, turn that side toward the camera. If it has glaze or icing, place it so the light skims across the top. That makes texture easier to see.
Keep the background plain
Your menu item should be the clear subject.
A busy counter can make even a good drink look messy. Before you shoot, look at the whole screen, not just the cup. Move anything that pulls attention away.
Clear out:
- Straws
- Receipts
- Dirty towels
- Open syrup bottles
- Extra cups
- Crumbs
- Staff items
- Clutter near the register
Then check the surface. Wipe drips, rings, crumbs, and fingerprints. This takes only a moment and makes the photo feel cleaner.
Plain does not mean boring. A wood counter, white table, tile, marble, or clean tray can all work. Just avoid a background that fights with the drink.
For menu photos, keep the frame focused on the item you want to show. If you are photographing a seasonal latte, do not surround it with several other drinks. If you are photographing a pastry, do not crowd it with unrelated items.
Simple is easier to use later. It works better on a menu, on Google, and as a reference photo for AI tools.
Phone settings that help
You do not need a special camera app. Your regular phone camera is fine.
Before you shoot, clean the lens. Coffee shops are full of steam, sugar, grease, and fingerprints. A quick wipe with a soft cloth can make the photo sharper.
Then frame the item and tap the screen where you want the camera to focus. For drinks, tap the logo or the front edge of the cup. For food, tap the main texture, like foam, frosting, or the cut side of a pastry.
If the photo looks too bright, lower the exposure slightly. Most phones let you tap the screen and drag brightness down. This helps protect highlights in milk foam, whipped cream, ice, and white plates.
Avoid digital zoom. Move the phone closer instead. Digital zoom can make the photo look soft or grainy.
Use Portrait mode with care. It can make the background soft, which can look nice. But it can also blur the rim of a cup, the edge of a straw, or the top of whipped cream. If Portrait mode cuts into the item, use the regular camera mode.
Take a few options from the same spot. Check the photo before you move the drink. Look for blur, weird color, glare, and crooked lines.
Make the drink look its best
A good drink photo starts before you pick up the phone.
Use a fresh pour when you can. Foam settles. Ice melts. Whipped cream shifts. Syrup streaks can run down the cup. A drink that looked great at the bar may look tired after sitting.
Before you shoot:
- Wipe the cup.
- Clear drips around the lid or rim.
- Turn the logo toward the camera.
- Use the cup style you actually serve.
- Add the garnish neatly.
- Make sure the straw, sleeve, or lid is straight.
Consistency helps. If your menu photos use the same cup style, surface, and light, your menu looks more organized. It also makes future photos easier because you are not starting over each time.
For iced drinks, shoot before the ice melts down. For hot drinks, shoot while the foam still has shape. For pastries, shoot before the case dries them out.
If an item is messy by nature, do not hide that completely. A cinnamon roll can look sticky. A breakfast sandwich can show melted cheese. Just make sure it looks intentional, not sloppy.
A quick routine before opening
You can build menu photos into your normal prep.
Pick a clean spot near a window and use it as your regular photo area. Keep a cloth nearby. Keep a plain plate or tray ready if it fits your shop’s style.
Before service starts:
- Choose the item you need to photograph.
- Make it the way you serve it.
- Wipe the cup, plate, and surface.
- Place it near the window.
- Turn off nearby overhead lights if they affect the color.
- Choose the angle that fits the item.
- Tap to focus.
- Lower exposure slightly if needed.
- Take a few photos.
- Check sharpness before putting the item away.
The key is repeatability. When you use the same window, surface, and angles, photo day feels less like a project. It becomes part of the flow.
You can also keep a simple folder on your phone for menu photos. Save the best version of each item there. When you need a post, menu update, flyer, or AI reference, you will know where to find it.
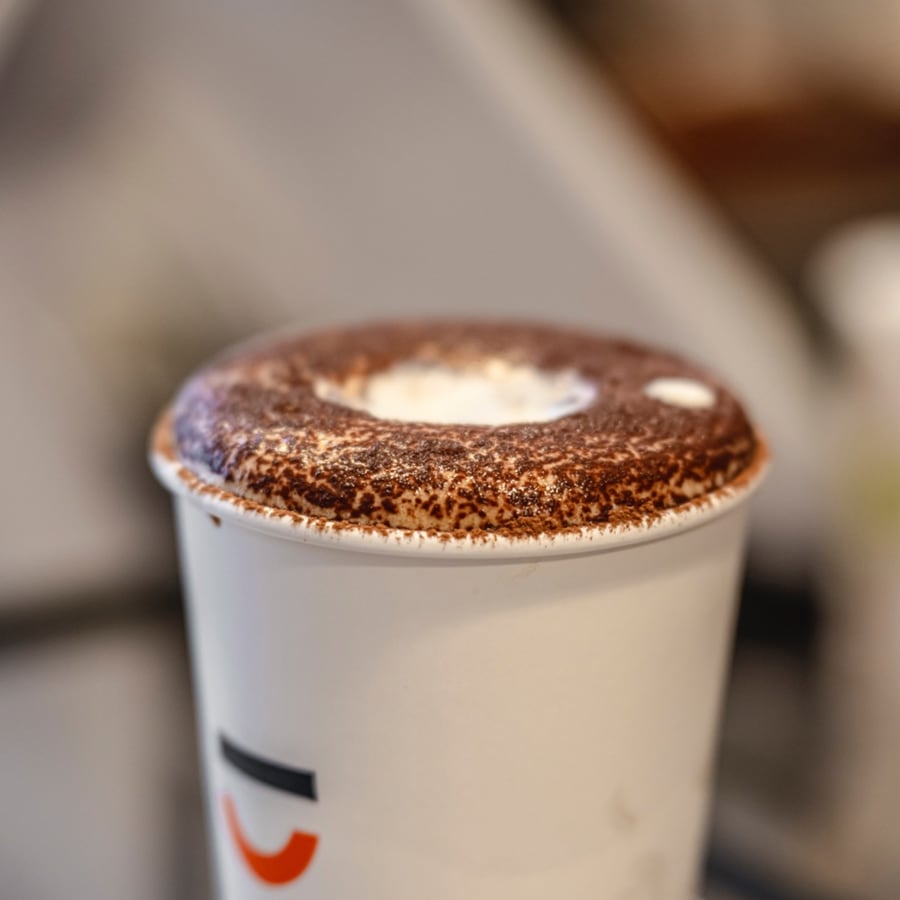
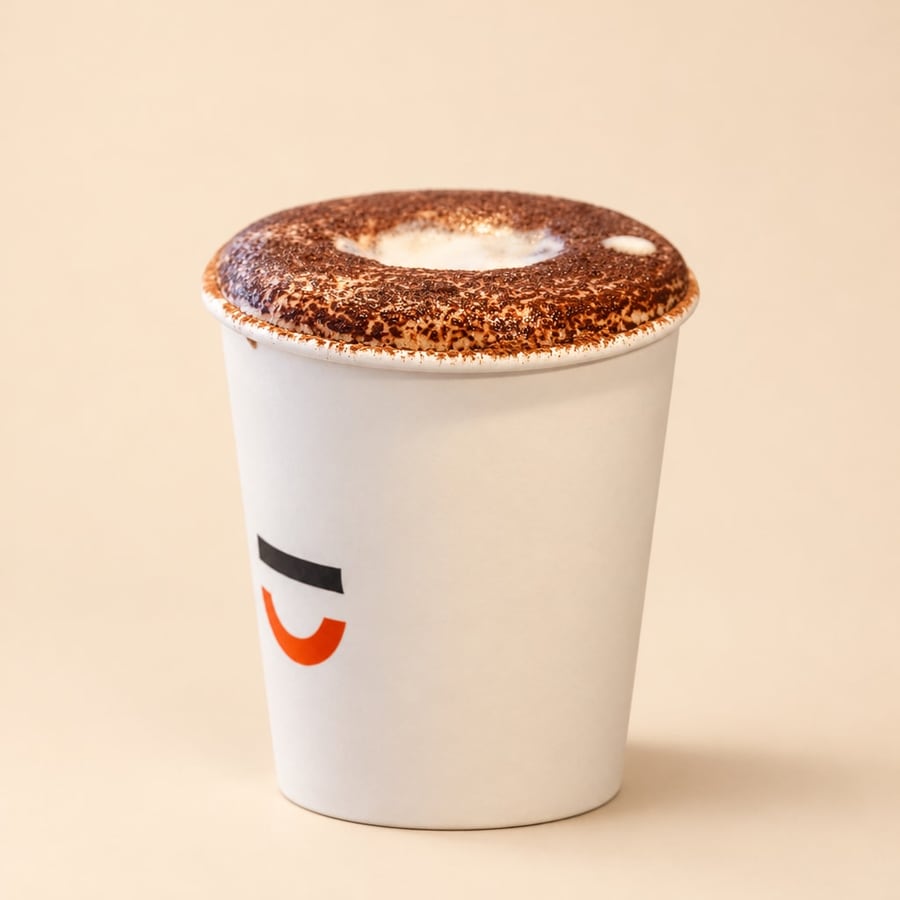
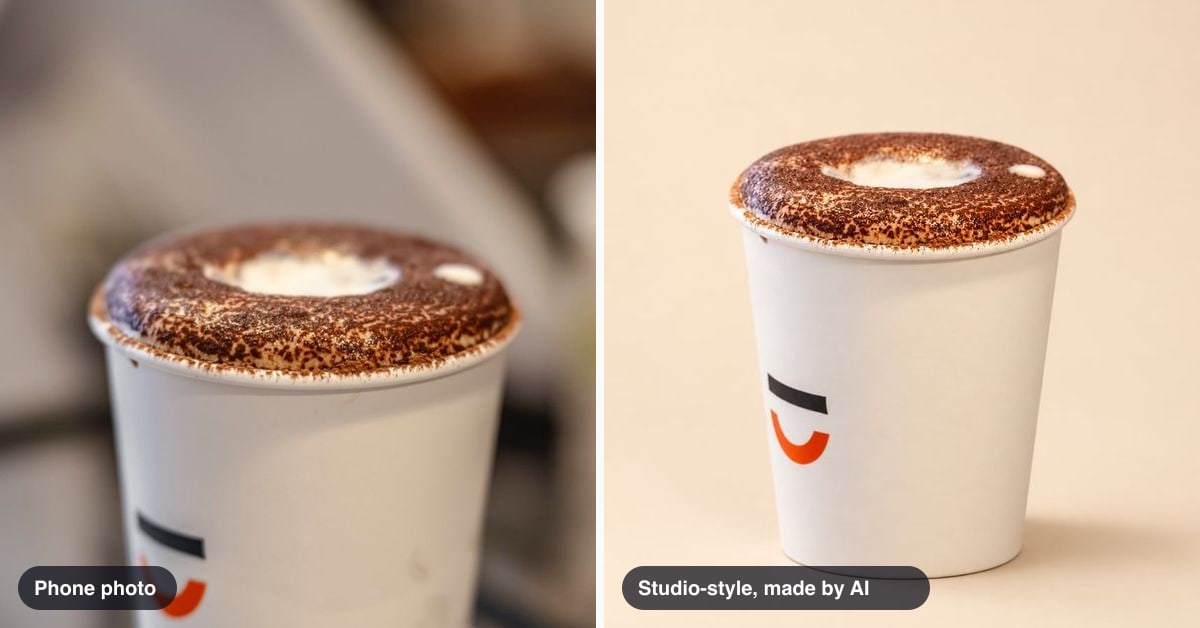
A phone photo, and the studio-style picture made from it.
Turn a good phone photo into studio-style pictures with AI
A clean phone photo can also become the starting point for AI pictures.
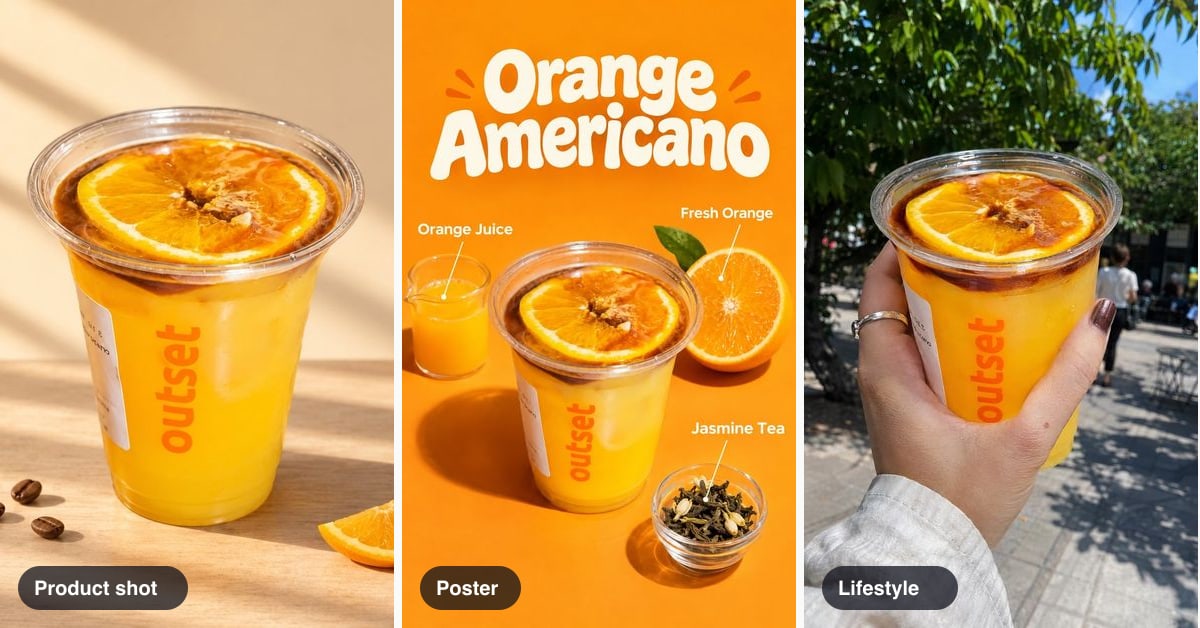
With QuickStok, you upload your own café photos. QuickStok makes pictures of your drinks and food from those photos. It can create the look of a studio shot, posters, and lifestyle pictures for your menu items. It can also help write post text from your menu and post to your Google Business Profile.
Try a free studio shot if you want to see what a clean phone photo can turn into.
For the best upload, use a photo where:
- The whole drink or food item is in frame.
- The item is sharp.
- The light is natural.
- The cup, plate, and garnish look the way you want them.
- The background is not too busy.
- The item is not covered by hands, straws, or other objects.
Daylight photos work best because the colors are cleaner. A clear, simple phone photo gives the AI better information to work from.
There are honest limits. AI pictures can get small details wrong, like printing on a cup, so you check every picture before posting.
A photographer still has an important place. A photographer can shoot your shop, your team, your space, and events. QuickStok is different. It makes pictures of your café’s drinks and food from your own photos. QuickStok never invents the shop.
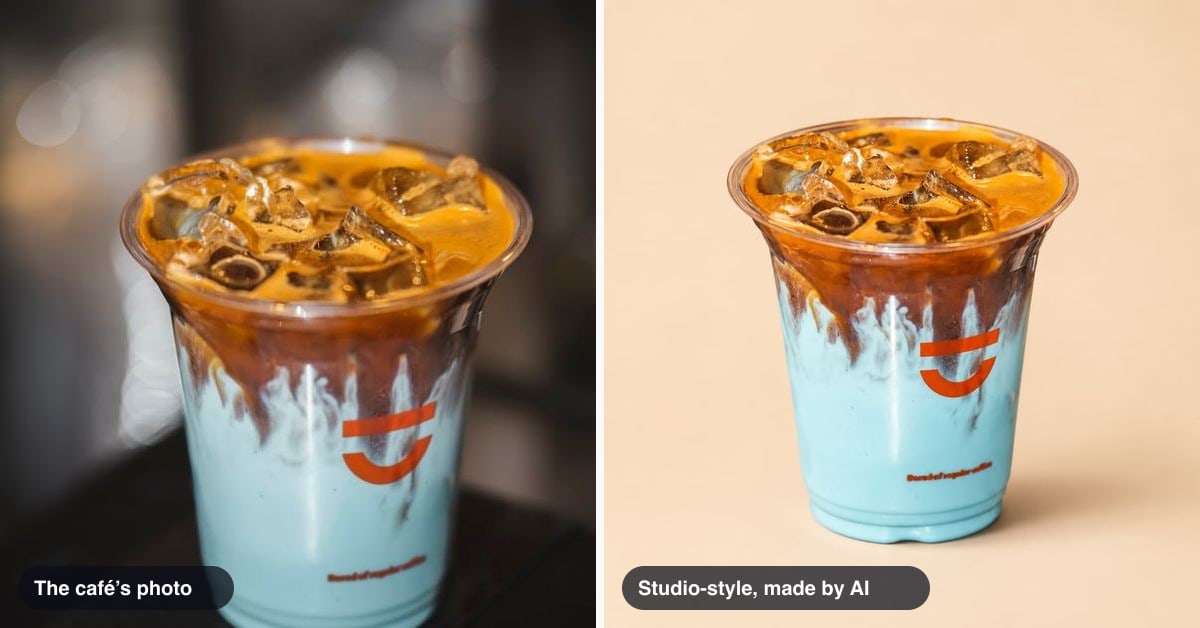
If you want to compare what changes, look at these before-and-after examples.
The best place to start is with the photo you can take today. Find window light. Clean the cup. Keep the frame simple. Take a clear shot.
Then you can use that photo as-is, or turn it into more menu content when you need it.